This is taken from http://strobist.blogspot.com/2006/07/how-to-diy-10-macro-photo-studio.html
I need a photo box, and this instruction tells it how to make it cheaply. Forget the plastic piping. We all have cardboard hanging around. I'll just need to get some black poster board.
"
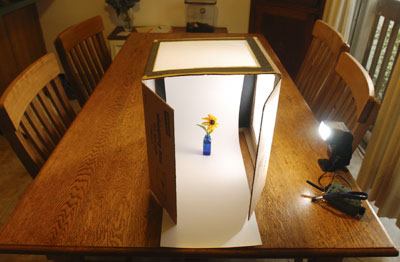
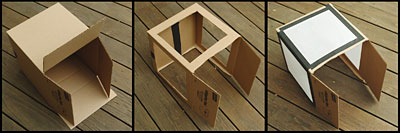
I used a 12" x12" x12" box, but let your subject needs define your size. I would not go smaller than 12x12x12, tho.
Basically we are gonna cut windows in three sides of the box and totally take out one side. (That last part is optional - see below.) You'll want to tape the original bottom of the box securely into place before making your cuts. Leave two of the top flaps on for light control as shown, and remove the other two. The three-shot sequence just below shows it better than I could explain.

I used a razor to slice the boxes. Try not to amputate anything, okay? Besides, the arterial bleeding will saturate and weaken the cardboard.
The last photo of the three-shot sequence shows the box with the tracing paper taped over the windows. You can choose to leave the "side" of the original box that will form the bottom of your studio attached to make it stronger, but it will preclude your ability to place the box down over an object (like a plant) outside and retain the surrounding ground environment. Your choice. I'll sleep well either way.
The thing could not be easier to use. You'll need at least one light source. A flash works great, as long as you can manually control the output and get it off of the camera.
But you could also use a bright lamp or work light. Just be sure to balance your camera for tungsten and put the camera on a tripod to keep it still during the exposure.
You could even use the sun, making it come from whatever direction you need by rotating the box.
The beauty of this thing is the lighting control you get. You have the ability to almost completely wrap your subject in high quality light. But if you use only one light, the tissue paper acts as a fill reflector all around your subject.
If you want to kill the reflection on the darker side, stick a square of black posterboard on that side (on the inside.) Ditto on the top."
"My favorite thing about this box is the "infinity sweep" effect you can get for a seamless bottom-to-background look. It's just a strip of posterboard.
White and black (especially white) both work fine, but you could also use any color you wanted. You'll just have to pony up another 49 cents.
You want more lighting control? You got it. The two remaining flaps act as gobo's to block your camera from seeing the side light sources. Bingo - no flare, and very saturated colors. Simply adjust the flaps for best blocking effect.
You want the light to come from closer to a 45-degree angle? Rotate the box around a little and shoot from closer to a corner.
You want more definition on each side? Use a light source on each side. This setup puts the old "Big Tupperware Light Tent" to shame."
"
The flower you see at top of the post (a "Black-Eyed Susan") was shot with just one small flash (on 1/16th power) positioned on the camera right side of the box, with no fill other than the tissue paper. (I actually used tracing paper.)"
Thank you Strobist.. you've saved me time and loss of patience!


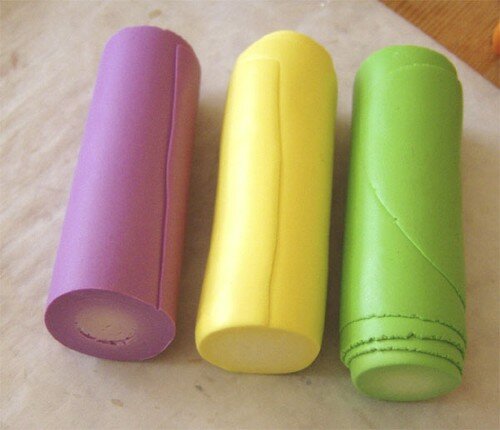
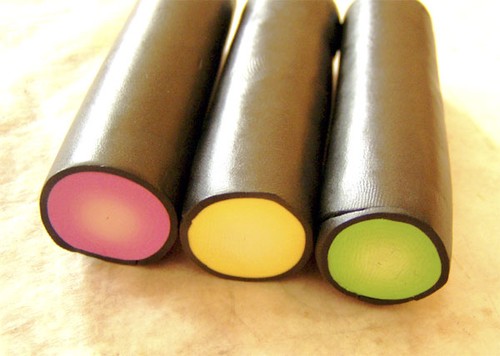
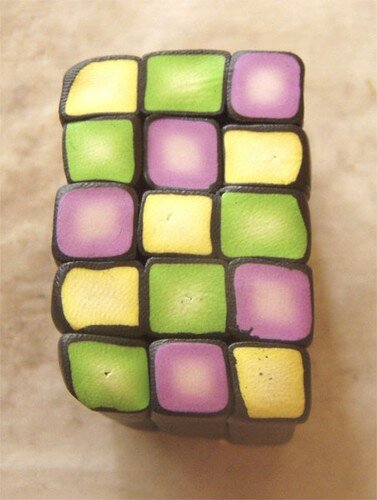
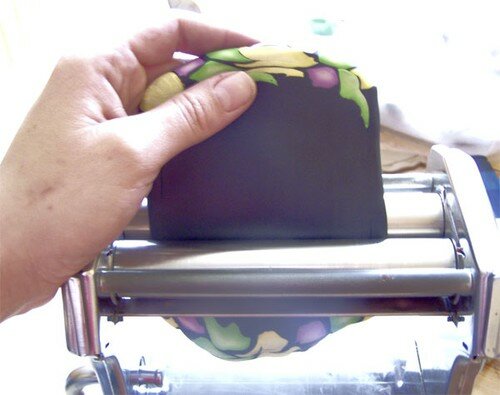
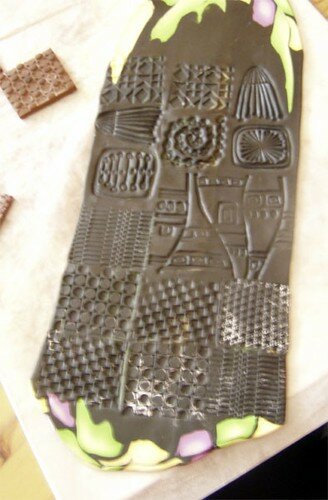
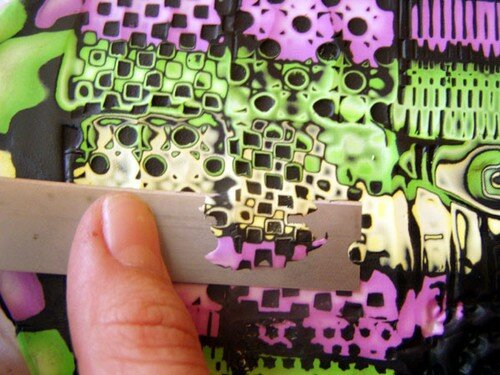
 Here's the promised results from my try at the hidden magic tutorial. I tried it differently, by using just two colors, and wrapping up the skinner blend differently. I like this technique, but would need to practice some more!


 I used a razor to slice the boxes. Try not to amputate anything, okay? Besides, the arterial bleeding will saturate and weaken the cardboard.
 The flower you see at top of the post (a "Black-Eyed Susan") was shot with just one small flash (on 1/16th power) positioned on the camera right side of the box, with no fill other than the tissue paper. (I actually used tracing paper.)"
